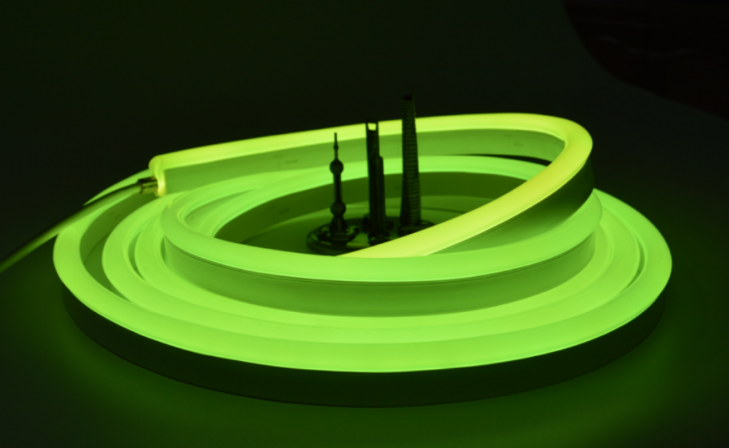
How to Install LED Neon Flex: Step-by-Step Guide
Installing LED Neon Flex can transform your space with vibrant and eye-catching lighting. Whether you want to add a stunning glow to your storefront, create captivating signage, or enhance your home's ambiance, LED Neon Flex is a versatile and energy-efficient choice. In this step-by-step guide, we'll walk you through the process of installing LED Neon Flex to help you achieve the desired effect with ease.

Step 1: Gather the Necessary Tools and Materials
Before you begin, ensure you have all the tools and materials required for a smooth installation:
LED Neon Flex (desired length and color)
Mounting clips or brackets
End caps
Power supply (LED driver)
Screws and anchors (if applicable)
Wire connectors
Silicone adhesive or mounting tape
Measuring tape
Scissors or utility knife
Wire cutters/strippers
Power drill (if drilling holes for mounting)
Step 2: Plan Your Installation
Careful planning is crucial for a successful LED Neon Flex installation. Decide on the layout and design of your lighting project. Measure the area where you intend to install the LED Neon Flex and determine the length required. Consider any bends or corners you might need to navigate, and plan the route for the wiring and power supply connection.
Step 3: Cut and Connect the LED Neon Flex
Using scissors or a utility knife, carefully cut the LED Neon Flex to the desired length according to your measurements. Most LED Neon Flex products have marked cutting points, making this step straightforward. Once cut, ensure the exposed copper contacts on the LED strip are clean and free of debris.
Next, connect the LED Neon Flex to the power supply. Follow the manufacturer's instructions on how to make secure and reliable connections using wire connectors. Double-check that the polarity is correct to avoid any issues with the LED strip's functionality.
Step 4: Mount the LED Neon Flex
Now it's time to mount the LED Neon Flex securely in place. Depending on your chosen installation method, you can use mounting clips, brackets, or adhesive silicone/mounting tape. If you're mounting the LED Neon Flex on a wall, make sure to use screws and anchors for added stability.
If you need to bend the LED Neon Flex around corners or curves, follow the manufacturer's guidelines on the minimum bending radius to avoid damaging the LED strip. Some products come with pre-molded connectors for easy bending.
Step 5: Install the End Caps
To give your LED Neon Flex installation a professional and finished look, install end caps on both ends of the LED strip. End caps not only protect the exposed contacts but also prevent debris and moisture from entering, ensuring the longevity of your LED Neon Flex.
Step 6: Connect to the Power Supply
Carefully connect the LED Neon Flex to the power supply (LED driver). Again, ensure correct polarity to avoid any potential issues. If your LED Neon Flex requires multiple segments, make sure to connect them in parallel, following the manufacturer's instructions.
Step 7: Test the Installation
Before fully securing the LED Neon Flex in place, test the installation to ensure everything is functioning correctly. Turn on the power supply and check if all LEDs are lighting up as expected. If any issues arise, double-check the connections and polarity before proceeding.
Step 8: Secure and Finalize
Once you've confirmed that the LED Neon Flex is working correctly, secure the LED strip firmly in place, making sure it follows the planned layout. Conceal the wiring as much as possible to achieve a clean and polished look. If necessary, use cable clips or channels to keep the wires organized and hidden.
Step 9: Enjoy Your LED Neon Flex Installation
Congratulations! You've successfully installed LED Neon Flex, and now you can bask in the mesmerizing glow of your new lighting masterpiece. Whether it's for commercial or residential purposes, LED Neon Flex adds a touch of magic to any space, creating an inviting and captivating atmosphere.
Remember, always refer to the specific manufacturer's instructions and safety guidelines throughout the installation process. By doing so, you'll ensure a safe, efficient, and visually stunning LED Neon Flex display that will impress everyone who lays eyes on it.
890
0
0


Comments
All Comments (0)